Roblox is a great platform where users can create and play games with millions of other users. And as you should already know, the platform gives you access to tons of customization options to help you create your own unique avatar. There is also the option to create your own clothing to either make your character more personal or even sell those to earn some Robux – Roblox currency. Now, with that being said, we have put together a full in-depth guide on how to make a shirt on Roblox. So without further ado, let’s get started:
Step 1: Get a Builders Club Subscription
If you already have a Builders Club subscription, then move ahead to the next step.
Also read, How to Delete Roblox Account.
Without a Builders club membership, you won’t be able to upload your shirt template to Roblox. To become a member, head on over to the provided link. From here, choose a plan that you like, choose a monthly or annual subscription plan, and hit enter.
It will ask for your preferred payment method followed by payment details. Provide the required details and complete the transaction to successfully get your Builders Club subscription.
Step 2: Download a Shirt Template

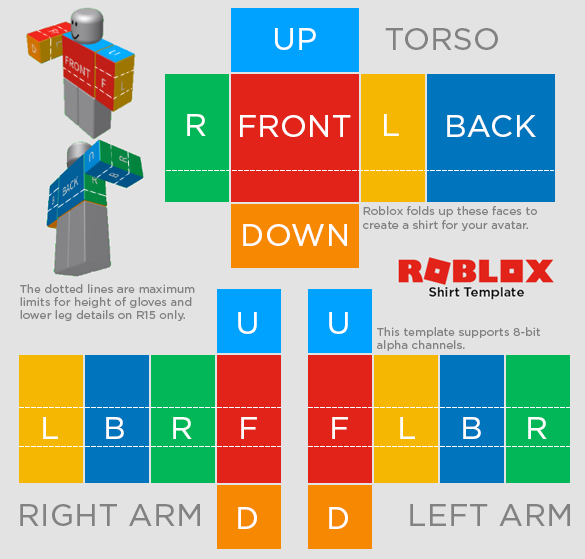
Once you have got your Builders Club membership, it is time to head on over to the following link and download the shirt template. Simply right-click on the image and save it to your desktop.
Step 3: Edit the Template
Next, open the template in a photo editing app like Photoshop. You can also use free photo editing apps like GIMP or Paint.NET.
The shirt template is folded up into parts that specify the front, back, up, down, and left, right for the character. Just edit in the images/graphics that you want in these regions and voila – you have successfully created your own custom shirt on Roblox!
In order to leave a particular region as transparent, you can use the 8-bit alpha channel.
Here are some pointers about the size of each image file-
- The large squares for the front and back of the torso are 128*128 pixels.
- The tall rectangle for the side of the torso, as well as the side of the arms, are measuring 64*128 pixels.
- The wide rectangles for the top and bottom of the torso are 128*64 pixels.
- And the small squares for the top and bottom of the arms are 64*64 pixels.
Step 4: Uploading Your Shirt
Once you are done creating your shirt template, save it on your system.
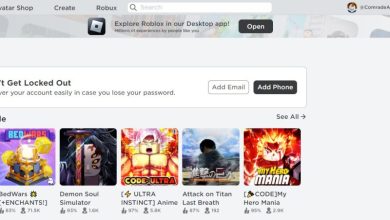
Next up, log in to your Roblox account and head on over to the Create page and click on the My Creations tab. From here, click on the shirt option from the left column.
Here you will get the option to upload your new shirt template and give it a name. After uploading it, you will need to wait a while for it to get approved by the Roblox team. Once done, you are now free to apply your custom shirt to your avatar, or even put it up for sale for your fellow Roblox players. Read Next, How to Play Roblox on PS4.

killer_